Tuesday, September 21, 2010

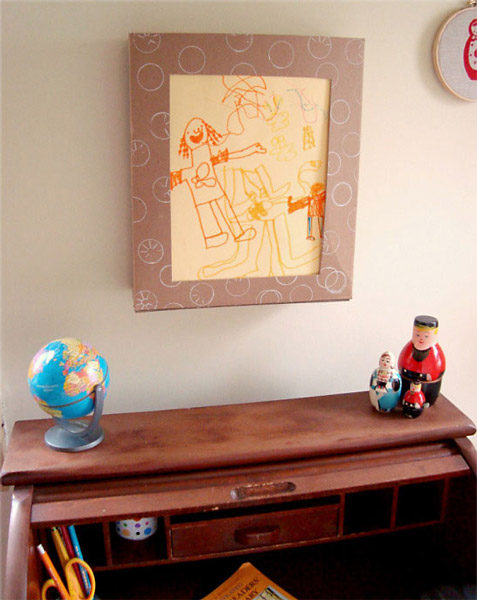
Art Display and Storage Box


Children are prolific artists. It can be challenging for parents to figure out where to display and store even a few of their masterpieces. Here is an inspired idea from Maya Donenfeld. A way to highlight your child's most recent work of art, while archiving some of your favorites. You can decorate the frame however you like, but keep it simple so that it doesn't compete with the art itself. And do not forget to write the child's name and the date on the back of the art. This will make it easier for future collectors and art historians to identify.

You can find complete instructions on the bookhoucrafts blog

This would also make a good gift for grandparents, or doting aunts and uncles, with new work delivered on special occasions, or whenever inspiration strikes.

Newborn Portrait Session

Here are a few favorite photographs from a recent newborn portrait session.


Thursday, September 09, 2010

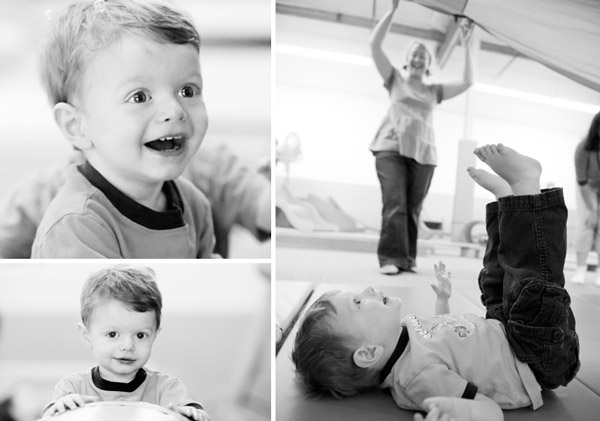
Portraits at Gymboree


I will be photographing at Gymboree Play + Music again in a couple of weeks. If you have children five years old or younger, this is the perfect opportunity for them to explore all of the fun Gymboree play equipment while I capture the moment in black and white portraits. The kids are generally having such a good time they do not even notice that I am there allowing me to capture their true personalities. If you are interested in attending or getting more information, contact one of the Gymboree locations below. Sessions are almost full, so do not delay.

Lake Oswego/Bridgeport
Friday, September 24, 3:30 – 4:15 pm and 4:30 – 5:15 pm
Call to reserve your space, 503-670-1683

Cedar Hills Shopping Center
Monday, September 27, 3:30 – 4:15 pm
Call to reserve your space, 503-384-0542

Monday, August 02, 2010

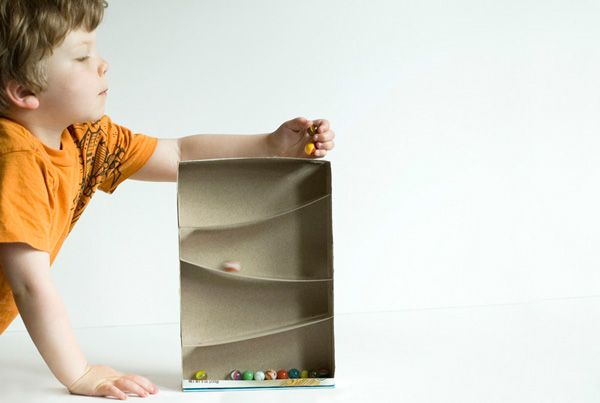
Cereal Box Marble Run


I love this simple cereal box marble run from Made by Joel. Check out Joel's blog for detailed instructions (and lots of other creative projects for kids). It fits perfectly into our ongoing series of posts celebrating the creative reuse of cardboard packaging and would be an easy project for a lazy summer morning.

Saturday, June 19, 2010

Father's Day


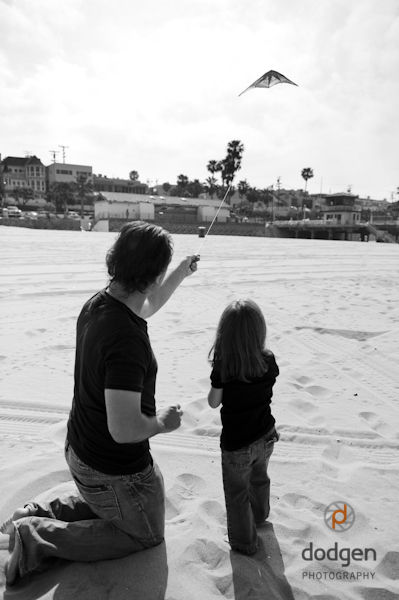
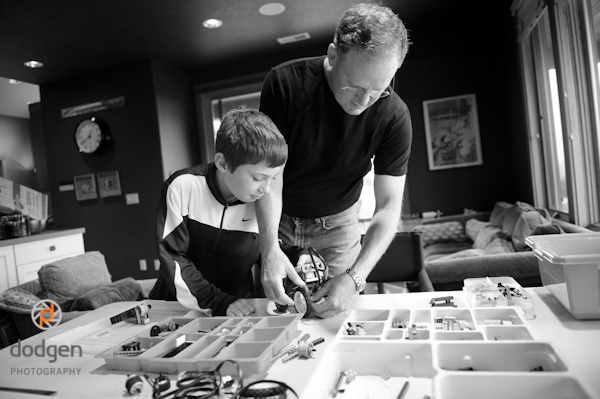
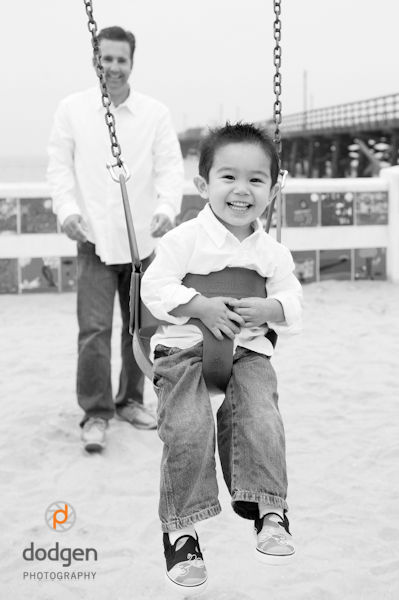
Parenting has been one of the most exciting, challenging, joyous, exhausting, exhilarating, edifying, and rewarding experiences of my life. Here is a photographic tribute, from portrait parties and sessions over the last year, to all of the dads. Happy Father's Day!


Tuesday, June 01, 2010

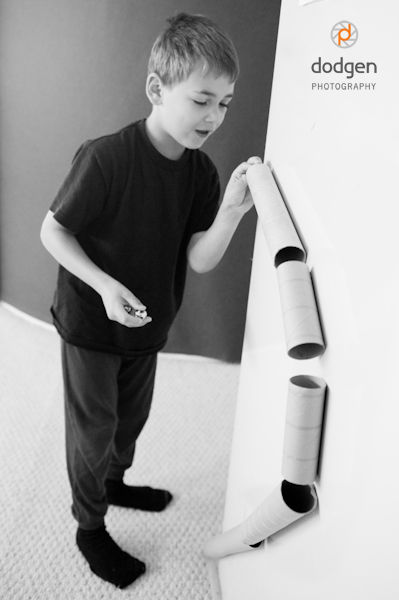
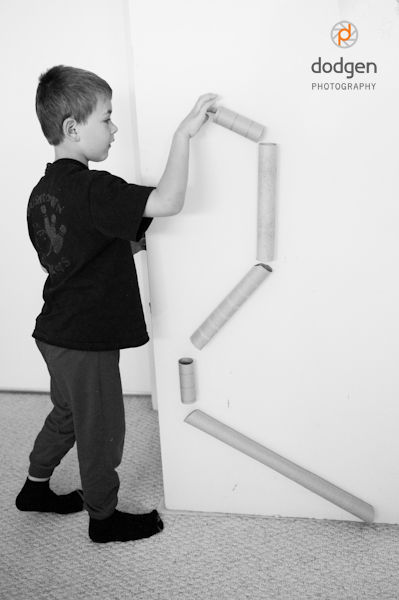
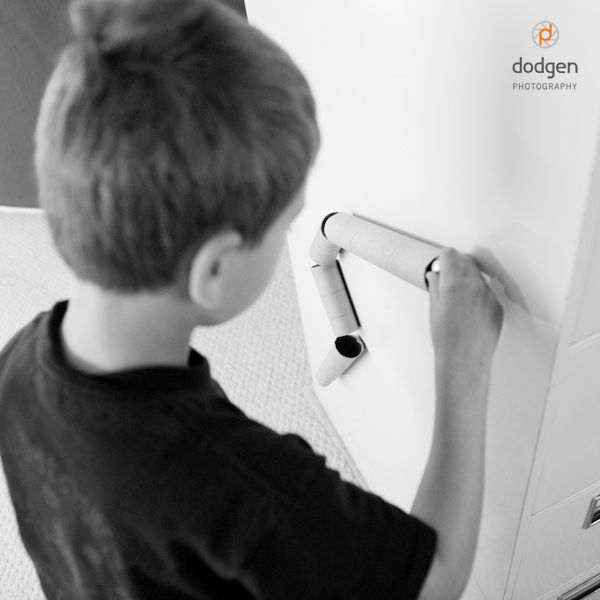
Cardboard Tube Marble Run


We finally got a chance to put together the cardboard tube marble run that we saw in a recent issue of Family Fun magazine (click the link for complete details).

We cut up some 8.5x11 magnet sheets that we had sitting around to attach to the tubes, but you could also use those pizza delivery fridge magnets that you probably have too many of. In addition to marbles, we used round bells that added a fun sound component to the maze. We are trying to come up with some additional objects/shapes to add to keep the maze interesting. We would love to hear any ideas you may have in the comments.


Sunday, May 16, 2010

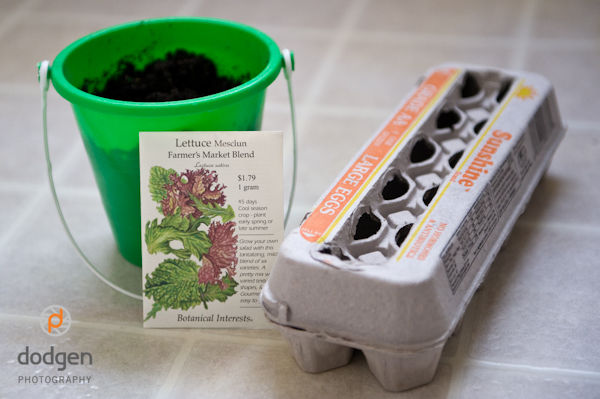
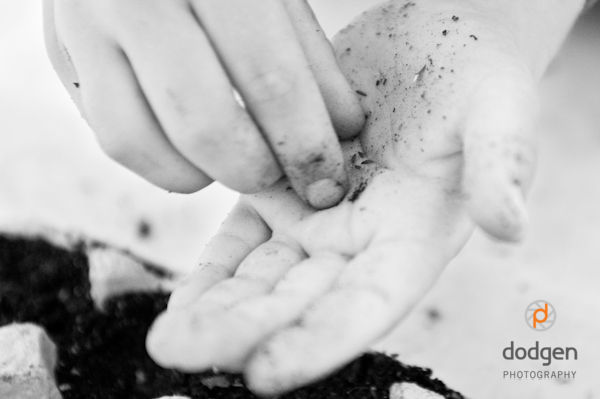
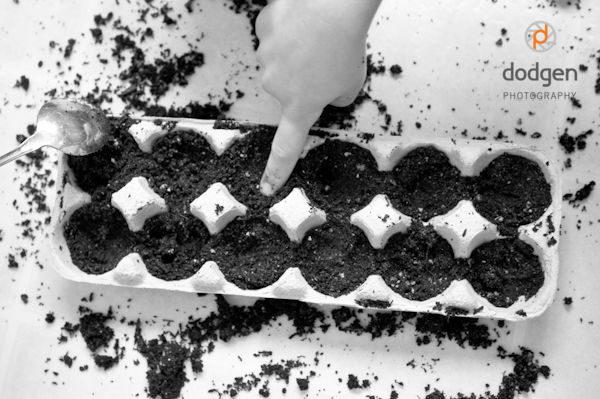
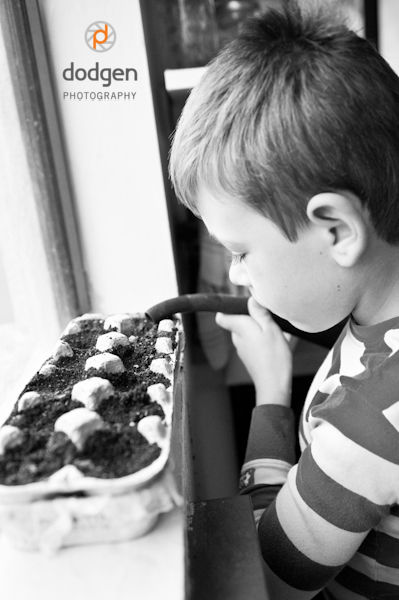
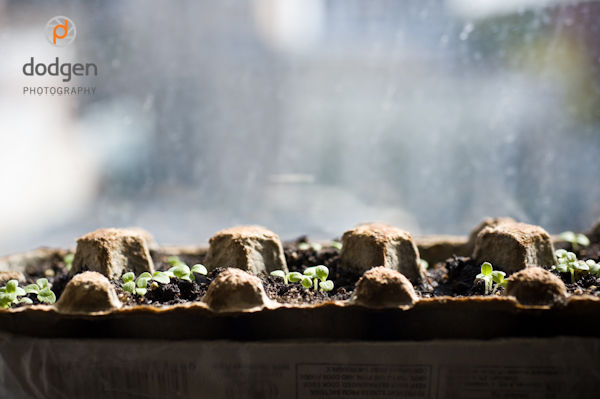
Egg Carton Seed Starters


If you've followed this blog for awhile, you have probably noticed that I like to find creative ways to reuse everyday objects. With this simple little project, you can take an old egg carton and start a garden. It is such a simple project that almost any age child can participate, and in the process learn what's involved in caring for a plant and enjoy the resulting harvest (vegetables always taste better when you've grown them yourself).

For our first planting this year we chose lettuce, but we have also enjoyed growing herbs (they are easy to grow in a small space, they are practical for cooking and they provide a great sensory experience for the kids with their various smells and tastes).

For this project, you will need:
Egg carton
Scissors
Soil
Seeds
A sheet of plastic wrap (optional)

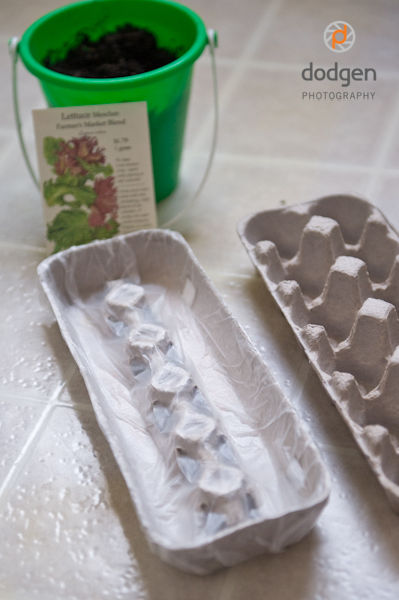
Cut the cover off the egg carton. Since we were going to keep this on the windowsill, we covered the inside of the lid with plastic wrap and placed it under the egg carton to catch excess water.


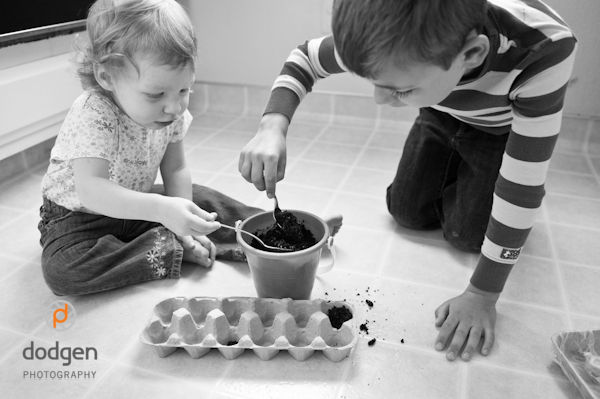
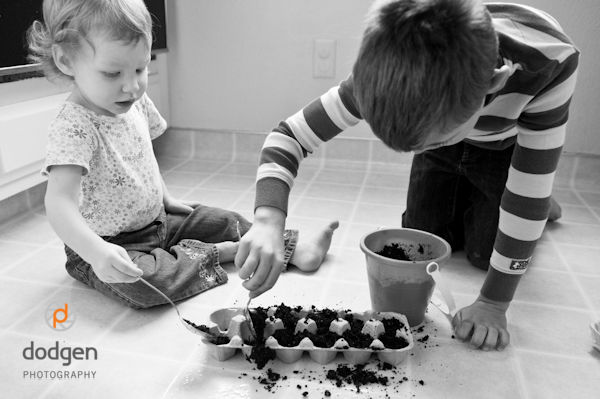
Put a little soil in each egg carton cup.


Put seeds in each cup, then cover with more soil.


Water.


Water regularly, following the directions on the seed packet.


Once the seedlings are big enough, you can cut the egg cups apart and place them directly into a larger pot or the garden (if they are made of paper pulp, instead of styrofoam, the carton will biodegrade).

Friday, May 07, 2010

Simple Fun


Photographs by Greta Eskridge

Do you ever feel that we over think and over spend when it comes to entertaining our kids? Often it is the simple things that bring them great joy. Babies shun their brightly colored, flashing, musical toys for the simple pleasure of banging on pots and pans.

Little ones would rather cook in the kitchen with you than play with the kitchen sitting in their room. Making a rocket made out of a used paper towel roll and a paper cone brings as much satisfaction as using a fancy kit. It doesn't have to be fancy for them to enjoy it.

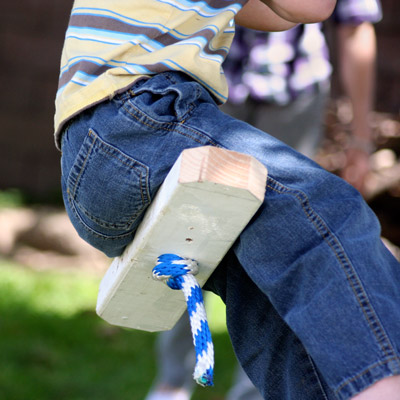
We just put up a swing in our backyard. I have envisioned a play house complete with swings. The proper kind. This one is a board and a rope. It is just right. Just perfect, actually.

Do you have any simple, homemade toys that bring happiness to your children? Please share.

Greta

Wednesday, May 05, 2010

iBox is Here


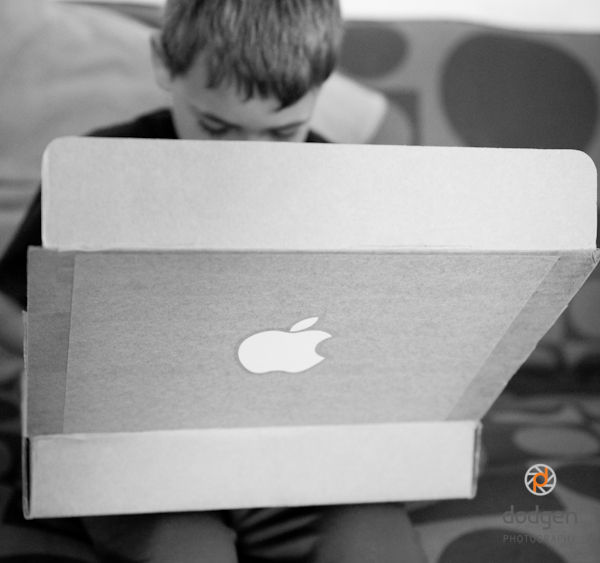
All of the tech buzz may be about Apple's new iPad, but we are pretty excited about our new iBox, a cardboard laptop computer we made ourselves.

We used an old box with a single flap top, an Apple sticker (if you have a Mac your probably have a couple of these lying around), a picture of a keyboard and track pad that we cut out of an old Mac laptop box (though I had planned on either taking a picture of a keyboard and printing it or drawing our own custom keyboard), a letter-sized sheet protector (available in clear or non-glare) to use as the monitor, and screen shots of a few of our favorite applications and websites, that we then printed and slide into the sheet protector when we want to work on a specific application (of course we can also create our own "applications" to put on the screen).

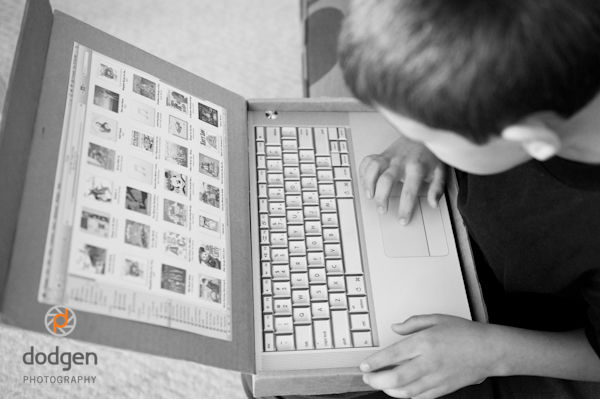


We also added a USB port (a hole cut into the side of the box) to plug in peripherals like a portable cardboard hard drive and our digital camera.

For more fun projects using cardboard boxes, click here.

Sunday, April 25, 2010

This blog has moved


This blog is now located at http://blog.dodgenphotography.com/.
You will be automatically redirected in 30 seconds, or you may click here.

For feed subscribers, please update your feed subscriptions to
http://blog.dodgenphotography.com/feeds/posts/default.